Spring has officially sprung and so my Lavish fabric collection is making it's appearance in the fabric stores! I didn't make any introduction post about inspiration and prints from the collection, but will do that very soon, once the look book will be out ;)

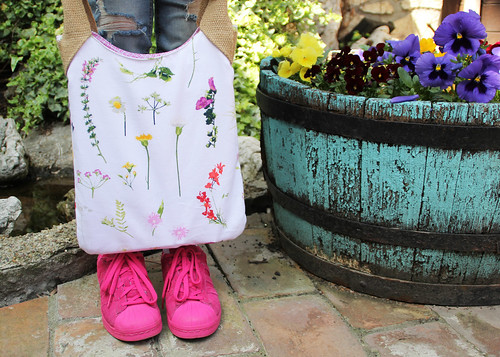
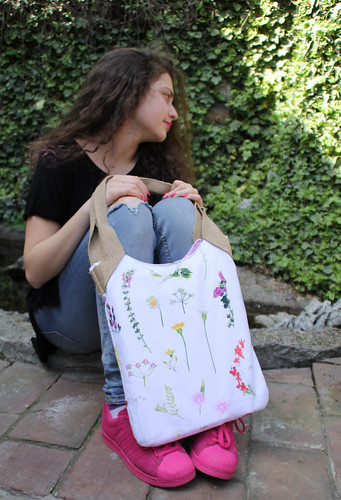
But, what I did almost the same moment I got fabrics, was to create a bag and a free tutorial for the bag, so that it may eventually inspire you to create something that easy and useful as well. For the first time, I used AGF canvas substrate to make a bag and I really love how it turned out, especially as it didn't require any additional stabilizer or interfacing, as the material is strong and has the perfect weight for bag making.
Finished size of this bag is: 14 x 11. 5".
Here is what you'll need:
Needed supplies:
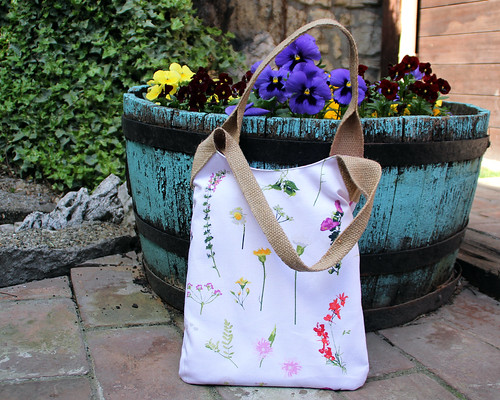
1. fabric: 1 fat quarter of the canvas fabric for the main sides (canvas is 58/59" wide, so one fat quarter is 18 x 29") + 1/2 yd of regular quilting weight fabric for the lining
I used my Lavish C-26809 : Petal Picking Dainty fabric for the outside and LAH-16804
Seeds of Dahlia for the lining
2. 54" of 2" wide hemp or jute webbing for the handles
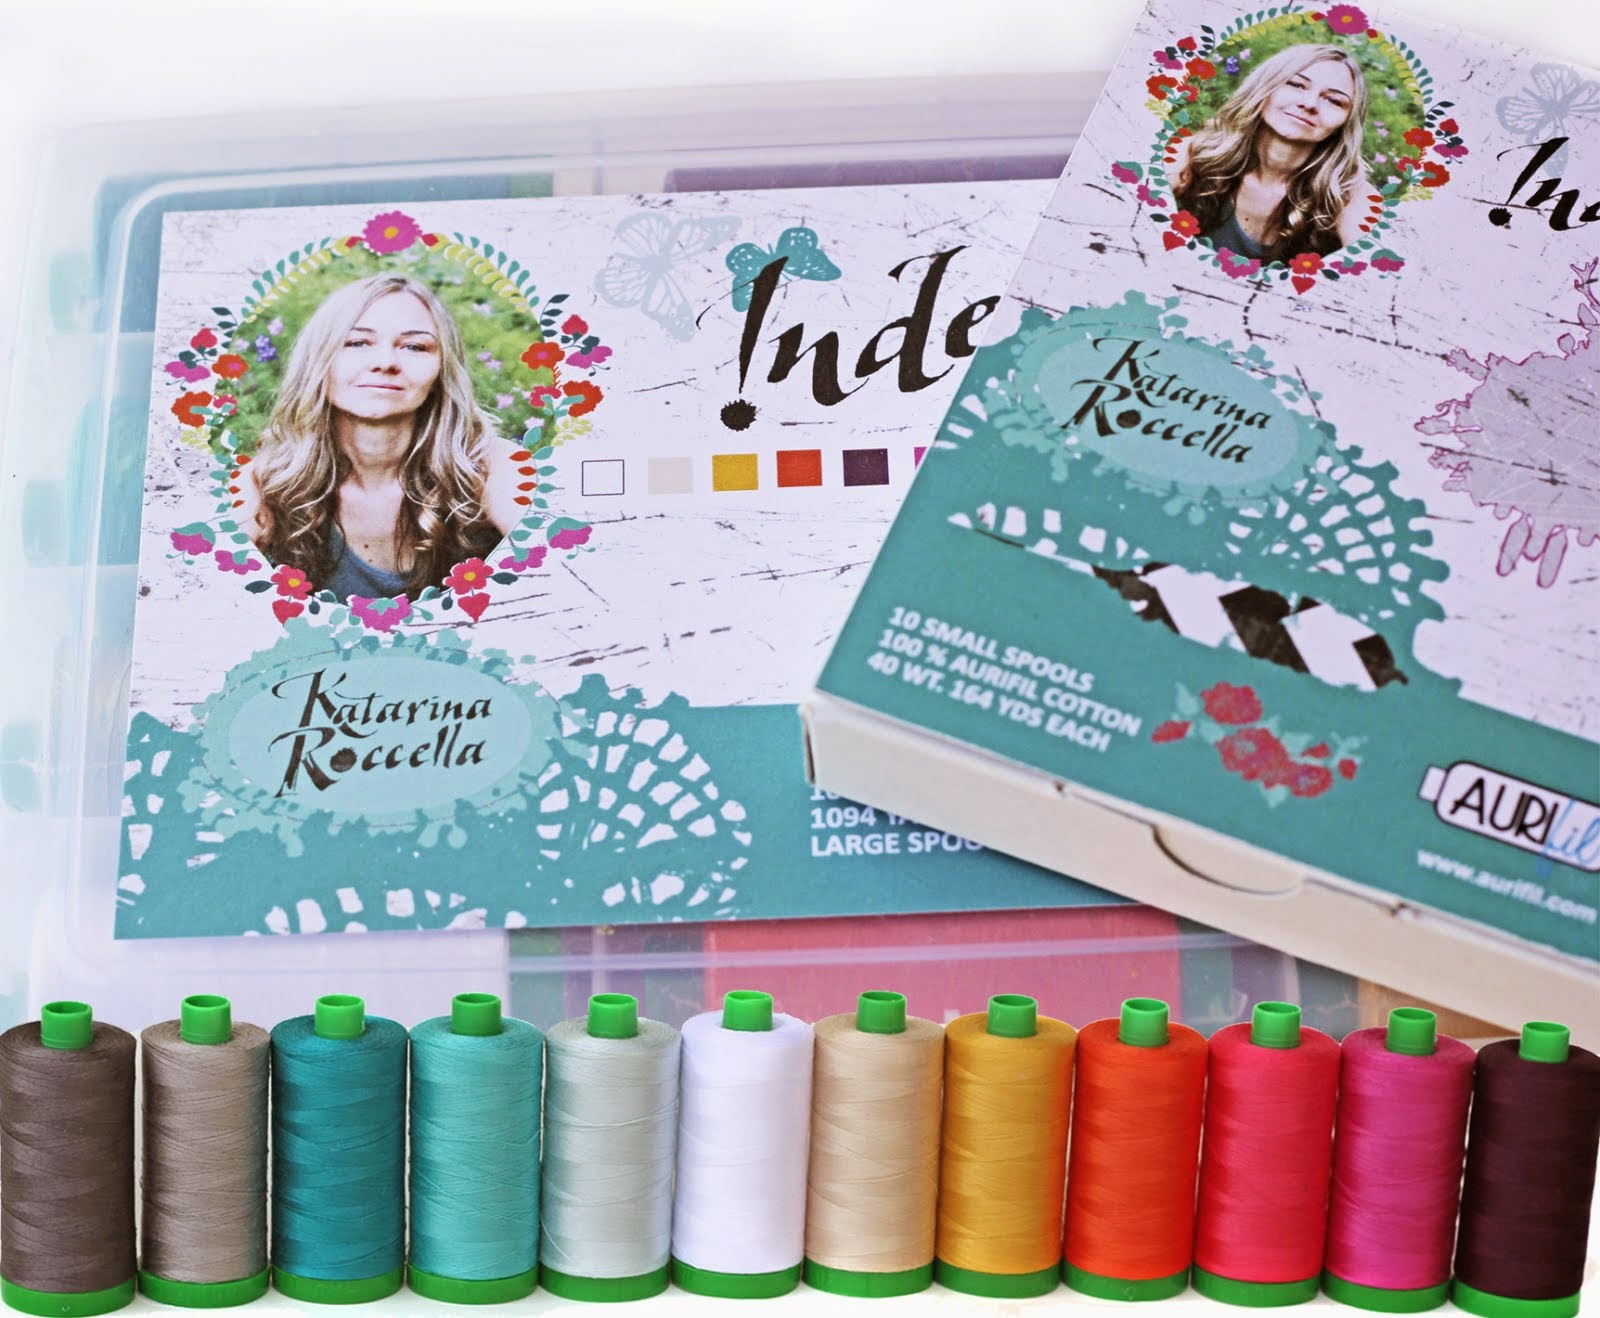
3. sewing machine, thread (for the best results - use Aurifil), scissors, ruler, rotary cutter, pins, iron
I used Aurifil 40wt and Schmetz leather needle (90/14)-great for medium to heavy weight fabrics and webbing
So, let's get started!
Prepare your fabrics (eventually wash them, if you prefer to prevent some shrinkage and press them nicely prior to cutting).
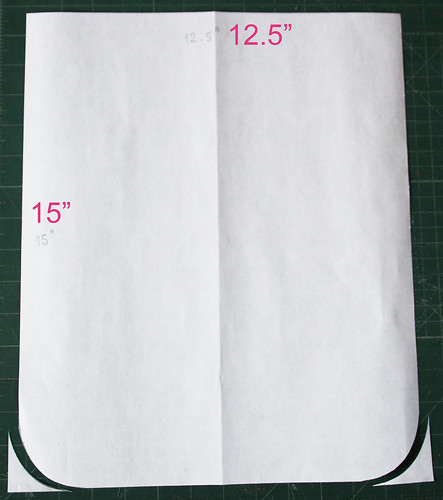
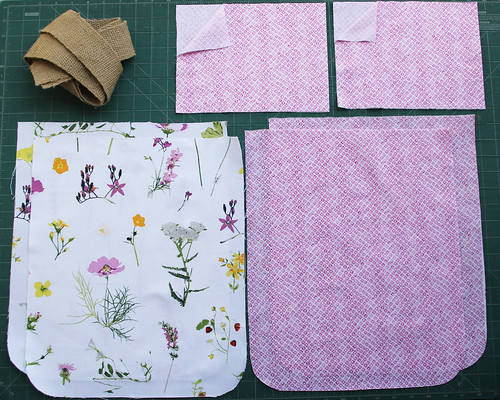
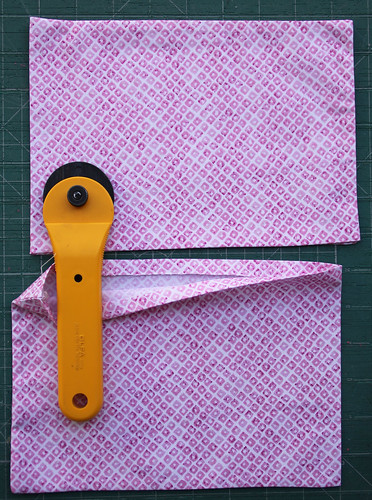
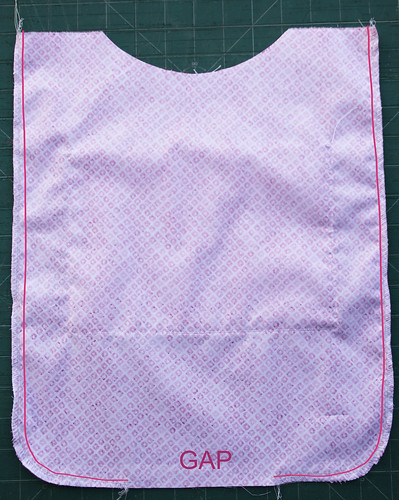
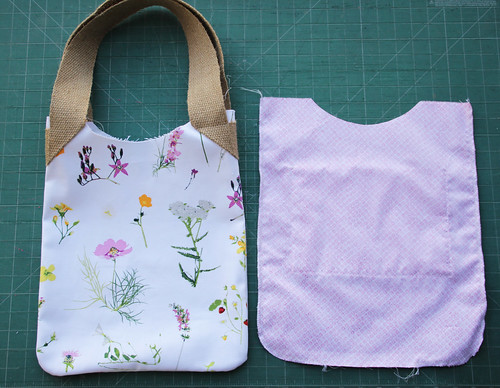
The good thing about this pattern is that you don't need to print and tape any paper template. If you want to make the bag in this dimension, like mine, just cut 2 rectangles measuring 15 x 12.5" each in the main fabric and also 2 rectangles, of the same size from the lining fabric. Additionally and as optional, you can use the left over piece of the lining fabric to make 2 inside pockets.
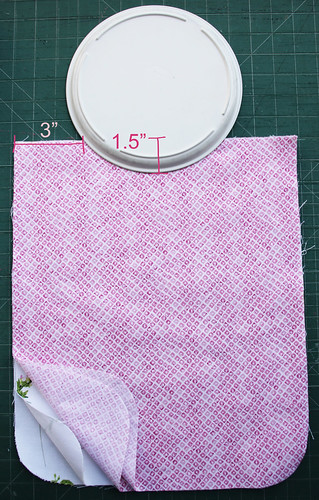
As you can notice, I rounded the bottom corners (because I didn't calculate any darts), using the round cup's lid.

But you can also make this bag much bigger in size, like maybe 18 x 16"- horizontally or vertically (in that case just be sure to add a bit more hemp webbing for handles and eventually make some darts to add more comfort inside and also, eventually add a magnetic snap closure inside - I am definitely making another bigger in size with these tips).
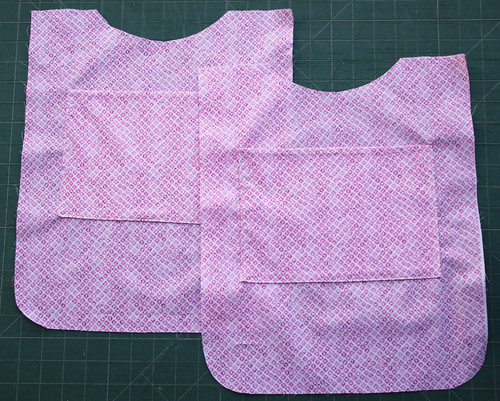
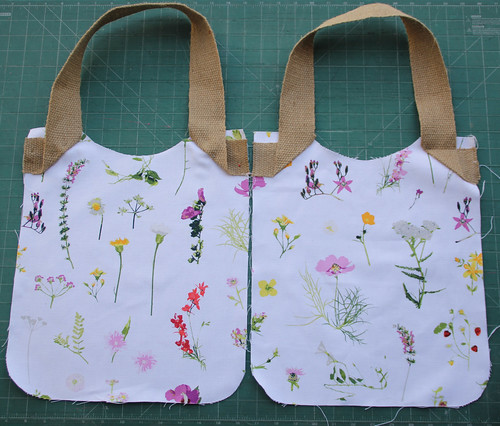
So, here's what we have and need:
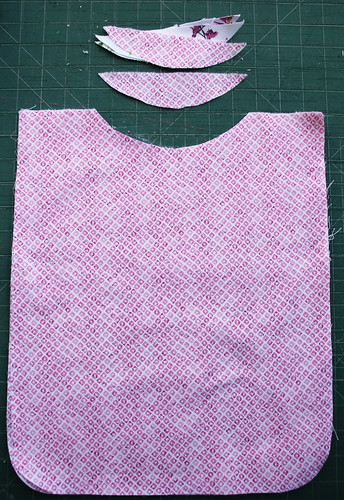
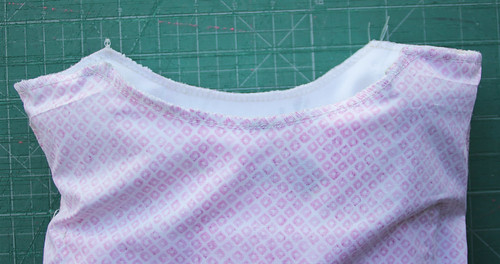
They can be used that way, or you can customize the shape a bit more, like I did, by opening a bit more the arm holes. As you can notice, I love "fancy tools"!!!
Here, much better, looking like giant bibs!
Now for the pockets (you can click on the pictures to allow better view):
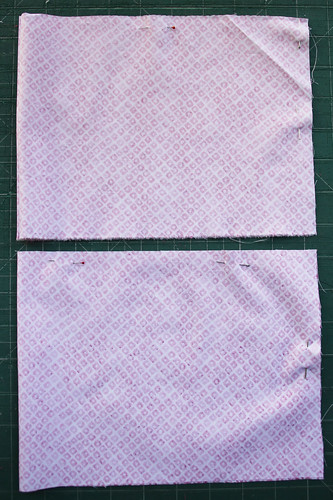

take two pieces of the lining fabric measuring 18 x 6.5" each, fold them on the shorter side, right sides facing, and pin on the two sides (one side has to remain open, allowing turning inside out). Sew these two sides closed and turn them inside out. Press them and also press the ends of the open side (approx. 1/4" seam allowance) inside. Pin the pockets to the both lining pieces.
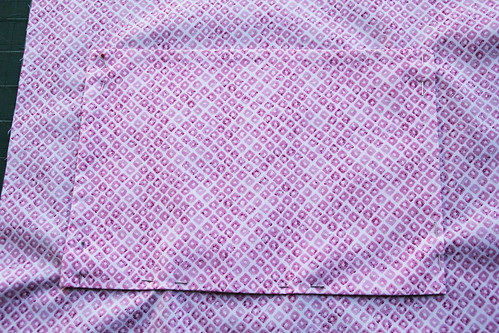
Sew the pockets on all 3 sides: laterals and bottom.
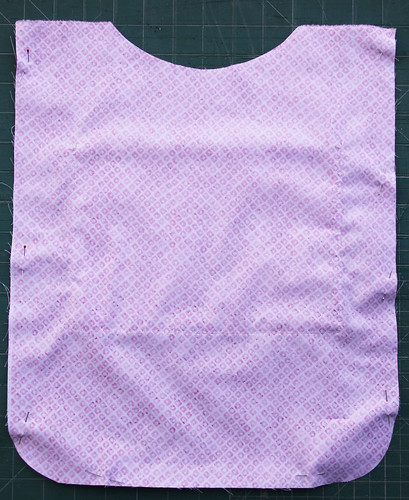
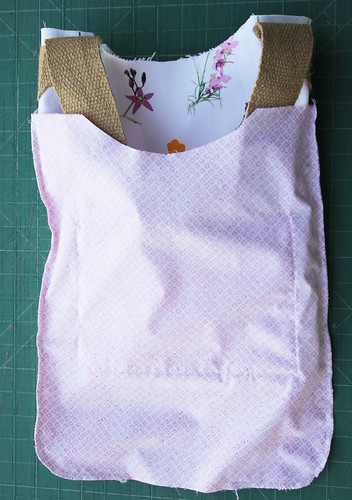
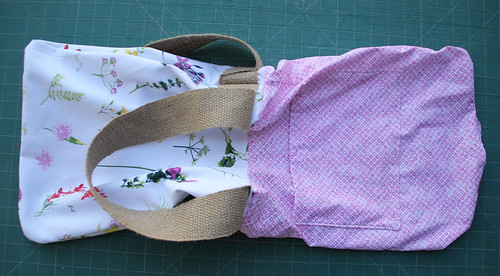
The inside parts are ready to be sewn together - so place them on the top of each other, right sides together, pin and sew all the way around, leaving the bottom gap open (approx. 6").
Now, let's prepare the main pieces: adding the hemp webbing handles to it:
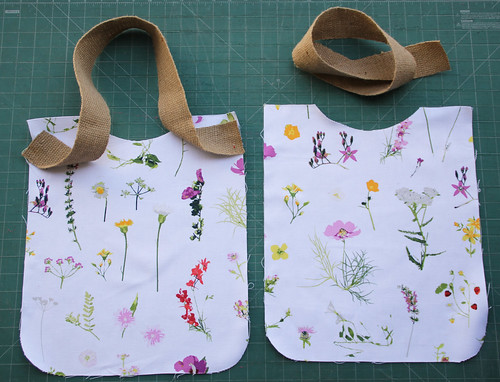
I used 27" long hemp webbing for each handle, but you can easy customize this size according to the bag size or your need (if you prefer them shorter or longer, maybe).
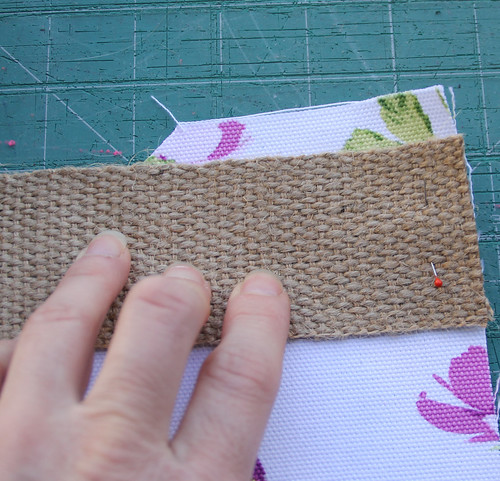
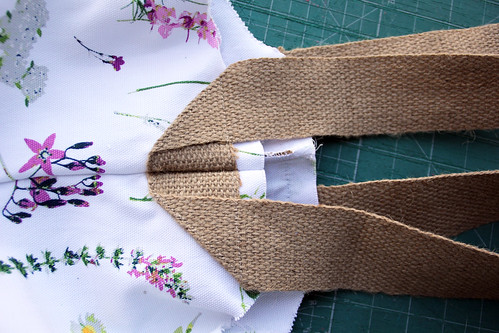
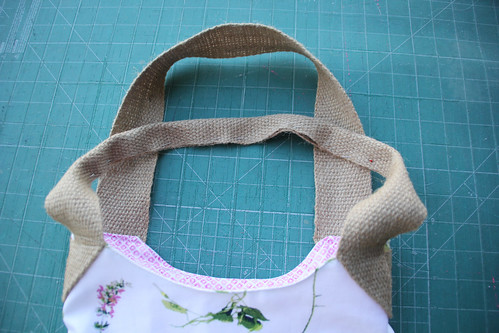
Pin the ends of the hemp to the both lateral sides, positioning them approx. 1/2" from the upper side (this will permit secure and easy sewing when joining the lining to the exterior fabric)
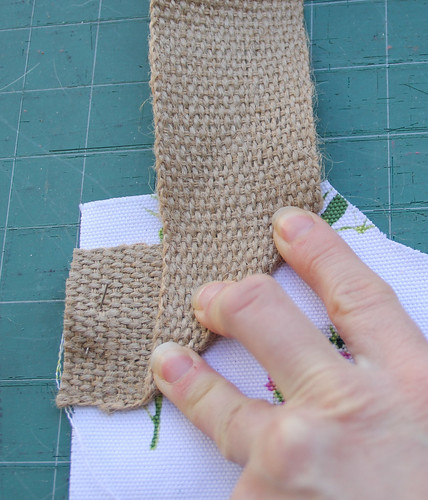
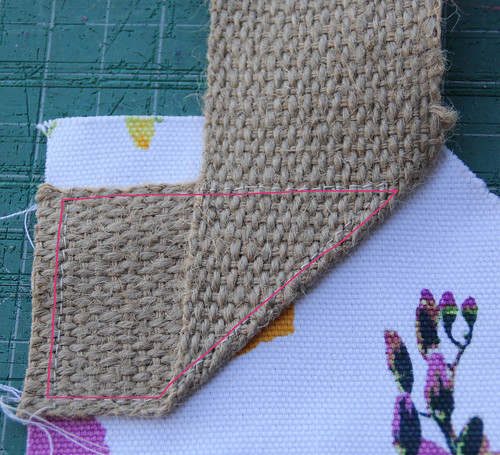
Now, turn the webbing like shown on the picture, guided by that nozzle made on the upper side, taking care that it's also a bit (like 1/2") away from the main fabric's edge (otherwise, you will have difficulty to sew).
Pin and sew these endings like this:
Now pin and sew front and back outside pieces on the top of each other, right sides together.
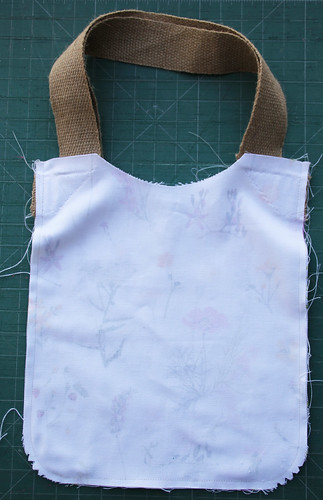
Clip the rounded corners a bit, to prevent scrunching.
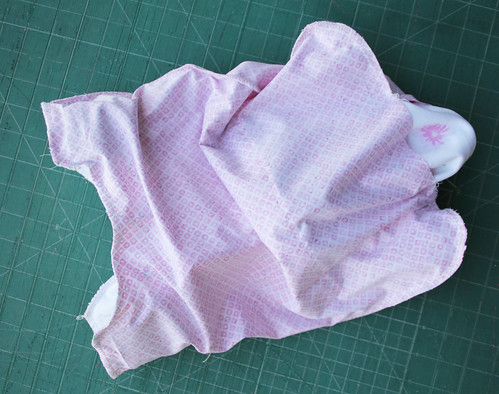
Turn the bag inside out.
Place exterior part of the bag inside of the lining part of the bag, or vice versa (right sides together).

Pin and stitch the lining to the exterior, all the way around on the upper side, making sure that you don't entangle the handles.

Turn the bag inside out through the lining's gap and stitch the opening gap closed.
Press the seam around the top line of the bag and do the top stitching, passing over the handles as well.
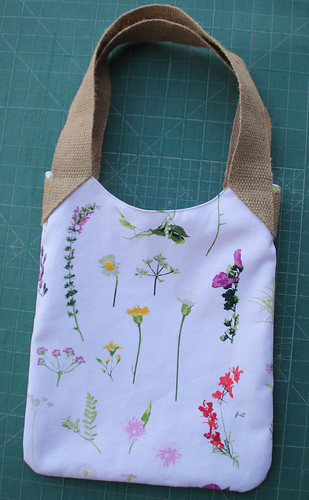
You can leave the handles as they are, or you can eventually stitch them by folding mostly the central part, that will go over your shoulder.
You can apply some nice decorative stitch or even hand stitch with some nice floss.
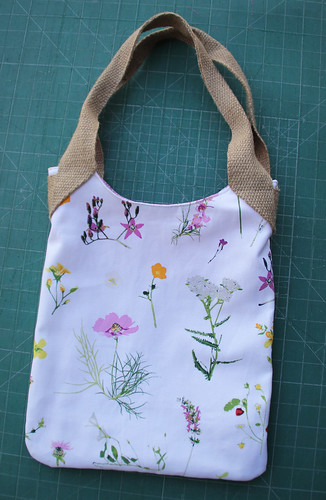
Hope that you like it :)
Happy sewing,
xx, Katarina


 GRID
GRID
 DECADENCE


3 comments :
I love your gorgeous fabrics Katarina, thank you for the great tutorial for the book bag.
I look forward to seeing more of your work!
Beautiful bag! Can't wait to make one for my daughter.Lovely model too!
Thanks for sharing this blog its very informative
Post a Comment